How to Change Drive Letter in Windows 11
Changing a drive letter can be useful when you encounter drive letter conflicts or want to reorganize your storage structure. Follow these steps to change your drive letter safely.
Step 1: Open Disk Management#
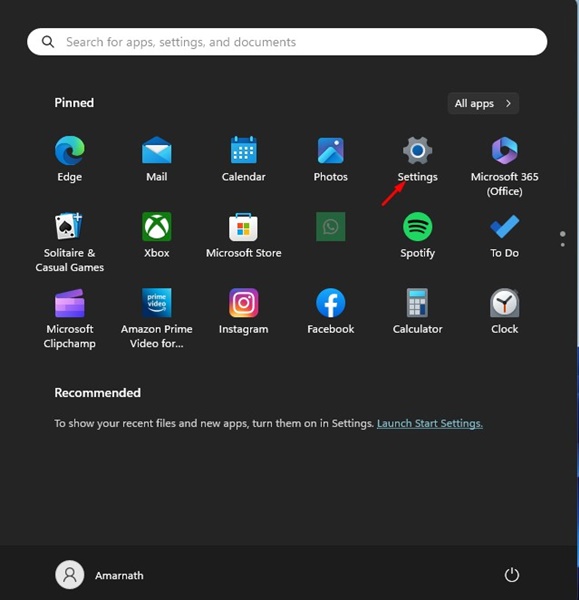
Right-click on the Start button and select Disk Management from the menu.
Sponsored Advertisement
Step 2: Change the Drive Letter#
- Locate the drive you wish to modify in the list.
- Right-click on the drive and select 'Change Drive Letter and Paths...'.
- Click the 'Change...' button.
- Select a new letter from the dropdown menu.
- Click OK and confirm the warning message regarding software paths.
Troubleshooting: Fixing Broken Shortcuts#
Changing a drive letter can break existing shortcuts or software paths. If your programs stop working, follow these steps:
Fixing Broken Shortcuts#
If you encounter an error where a shortcut no longer points to the correct location, follow these steps:
- Right-click on the broken shortcut and select Properties.
- In the Target field, update the path to reflect the new drive letter.
- Example: If the path was
D:\Folder\App.exeand you changed the drive toE:, update it toE:\Folder\App.exe.
If the issue persists with installed software, you may need to reinstall the application or manually update the registry paths, though updating the shortcut target is the most common fix.



💬 기술 토론 및 피드백 0
건전하고 유익한 토론을 지향합니다아직 등록된 의견이 없습니다.
이 아티클에 관한 궁금한 점이나 추가 팁을 첫 번째로 남겨보세요!
기술 토론에 참여하시려면 로그인해 주세요.
로그인 후 댓글 작성